
Birker Fell - Lake District Walk
Thursday 2nd August 2007
The original intention today had been to include Green Crag in this walk but John's knee had been painful for a couple of days so we decided to miss it out and instead we were rewarded with a 'lovely stretch' of boggy ground as we made our way between Broad Crag and Far Hill. It seemed like we had Birker Fell to ourselves today, as we met no-one all day, which you certainly can't complain about in the middle of the school summer holidays.
Start: Birker Fell Road - Winds Gate (SD 1851 9578)
Route: Birker Fell Road (Winds Gate) - Great Crag (193) - Broad Crag (194) - Far Hill - White How (195) - Great Worm Crag (196) - Rough Crag - Birker Fell Road (Winds Gate)
Distance: 5.25 miles Ascent: 287 metres Time Taken: 4 hours
Weather: Grey and overcast to start but warm and sunny by the end.
Pub Visited: The Black Cock Inn, Broughton Ale Drunk: Wadworth Brewery, Henry's Original IPA

The first summit of the day, Great Crag, seen here behind Little Crag.
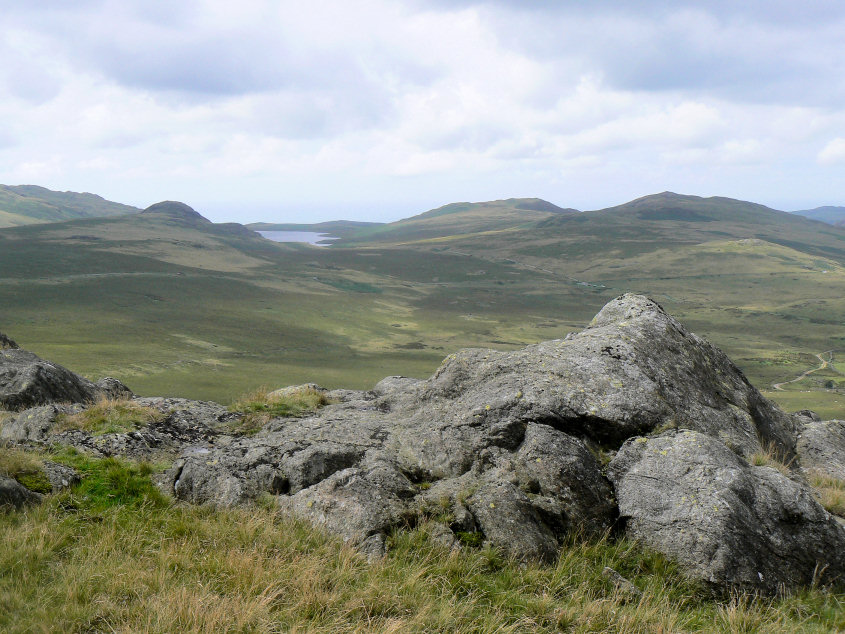
Looking back towards Devoke Water from the summit of Great Crag.
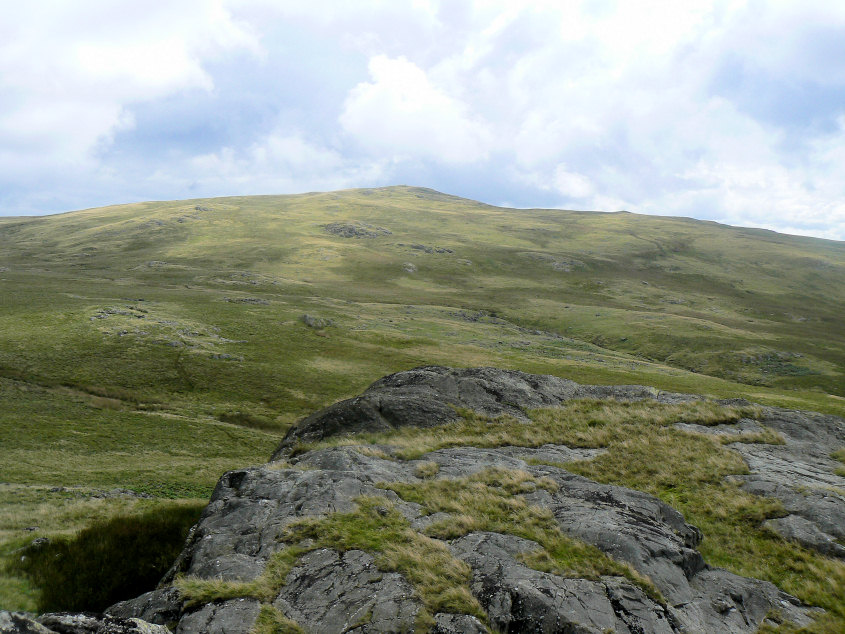
The final summit of the day, Great Worm Crag from Great Crag's summit.
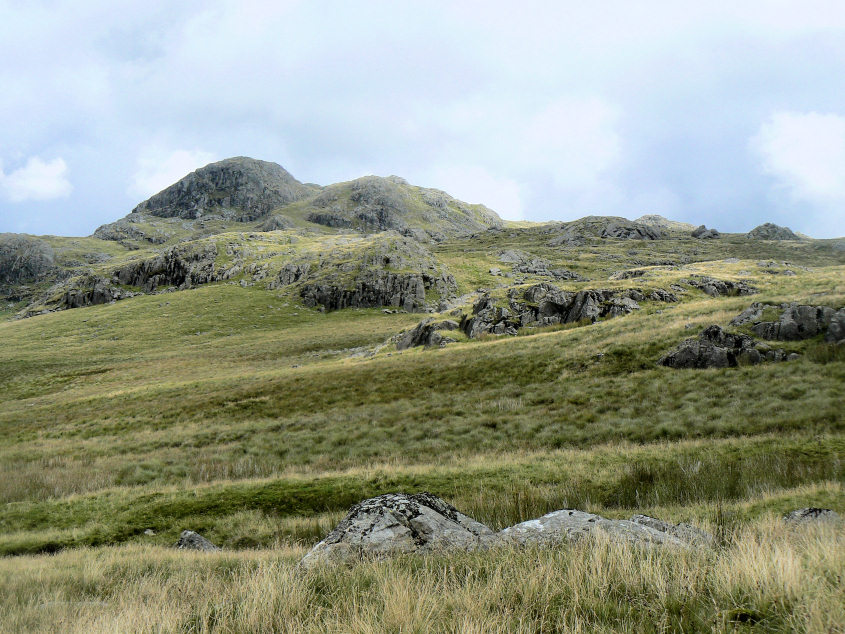
Looking across Birker Fell to Green Crag with Broad Crag in front.
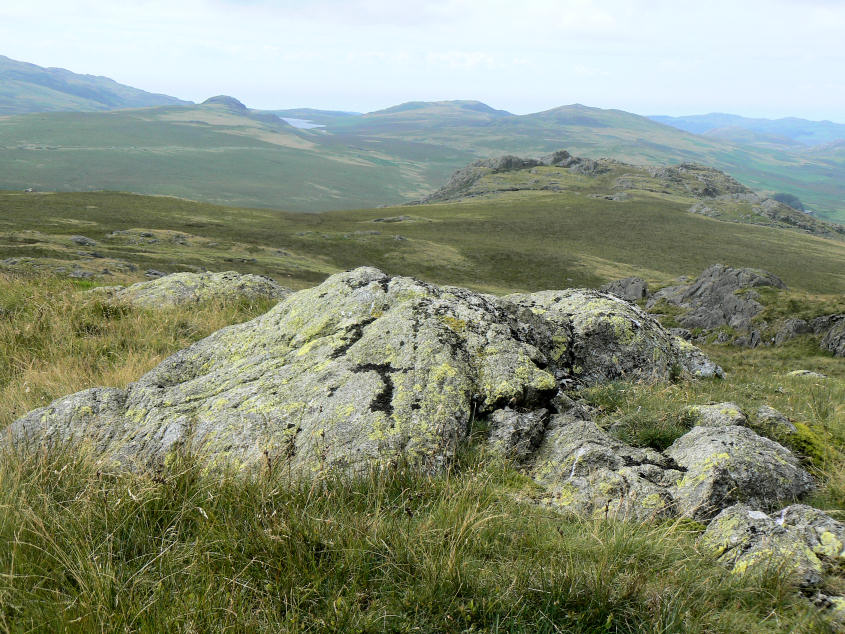
Looking back to Great Crag from Broad Crag's summit.
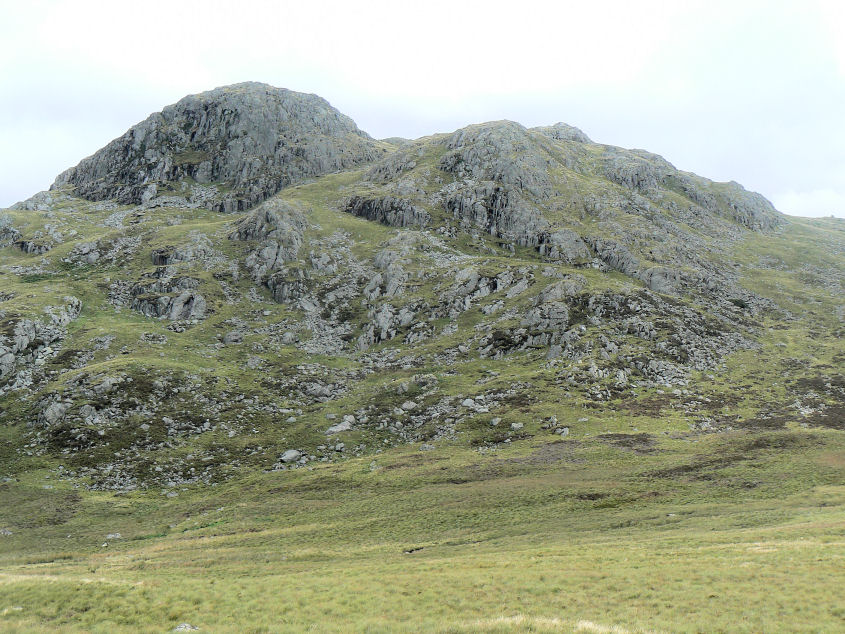
Green Crag.
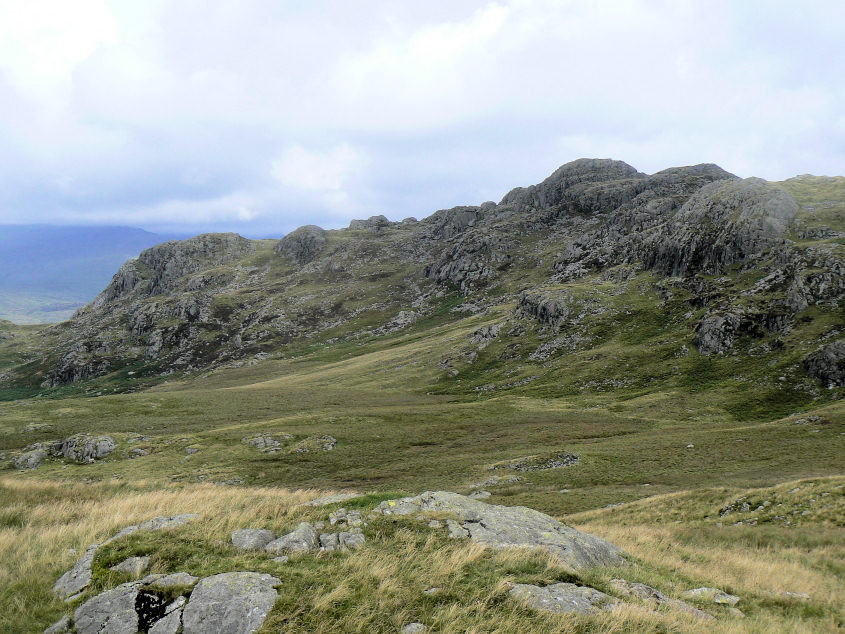
Crook Crag.
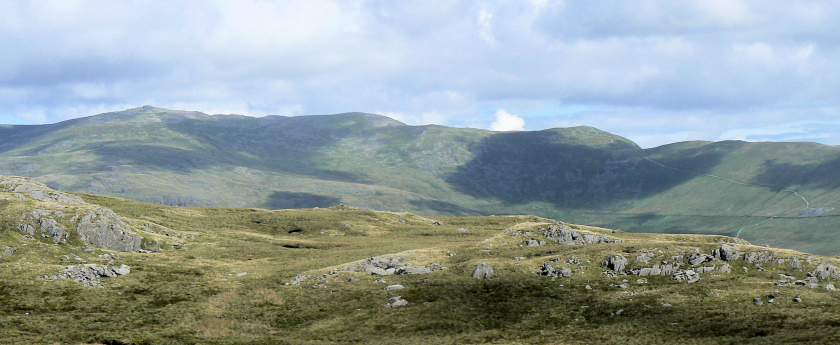
We had lunch on Far Hill with the weather improving all the time as we sat looking towards the Dow Crag - Brown Pike ridge.
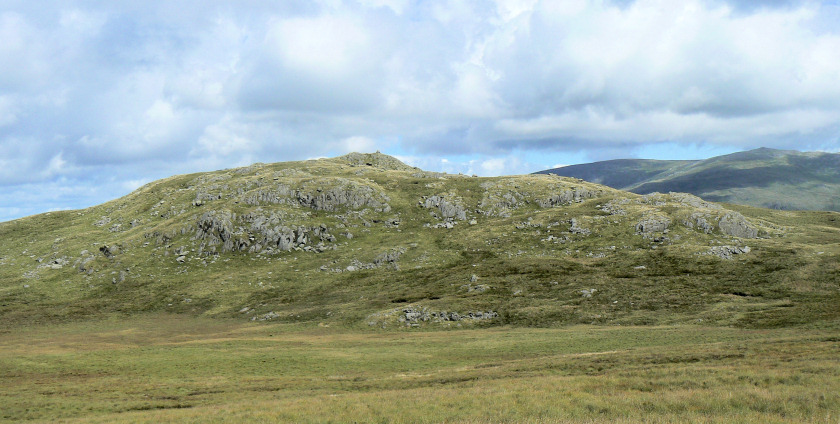
White How our next objective after lunch.
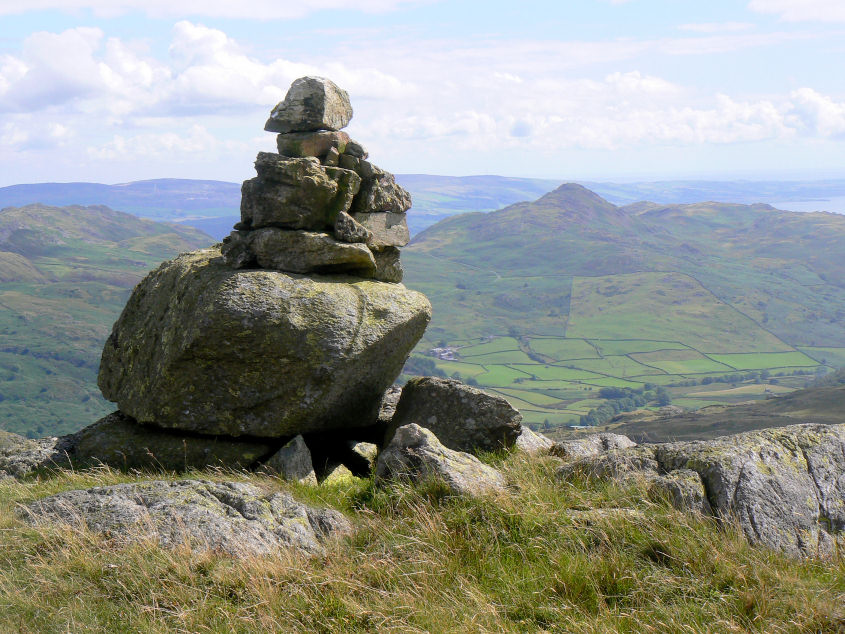
Stickle Pike from White How's summit.
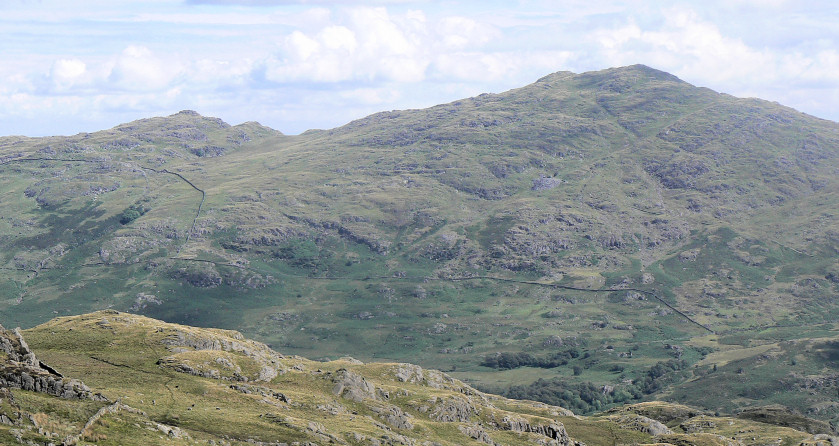
Caw (R) & Pikes (L) a lot clearer than when we were up there a few weeks ago.
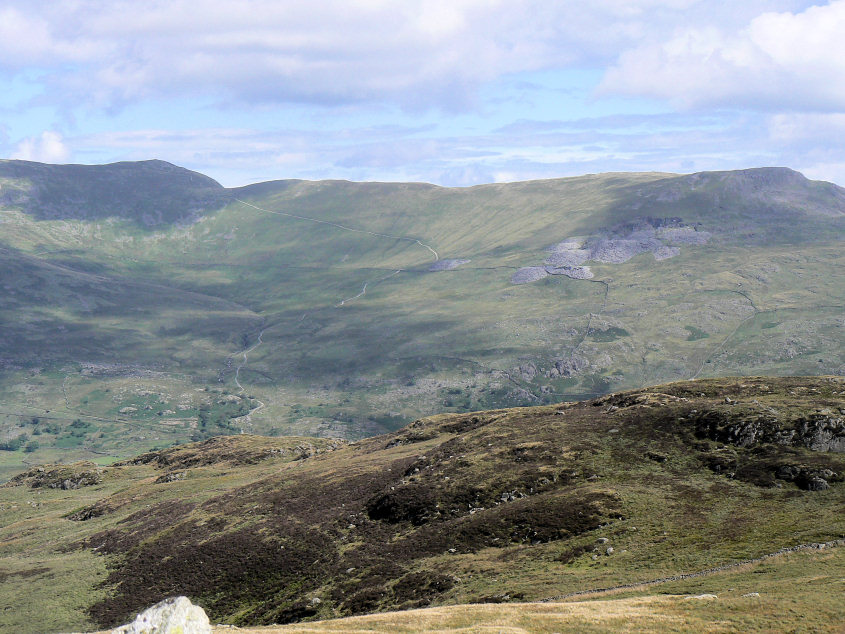
The Walna Scar Road with to its left Brown Pike and to its right Walna Scar, White Maiden & White Pike.
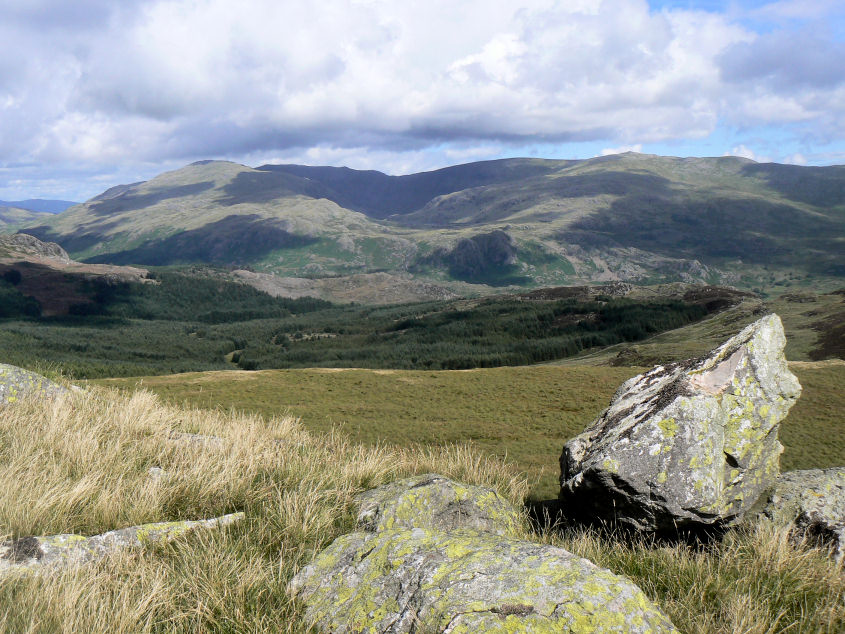
The Coniston Fells across Dunnerdale Forest.
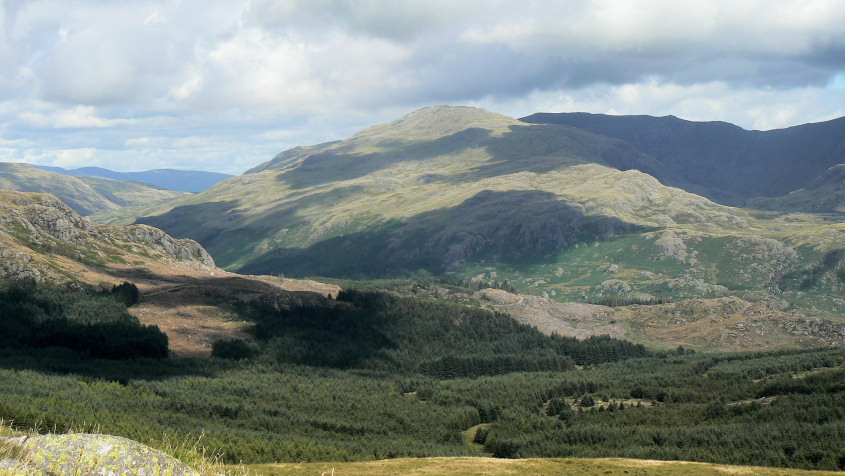
Grey Friar.
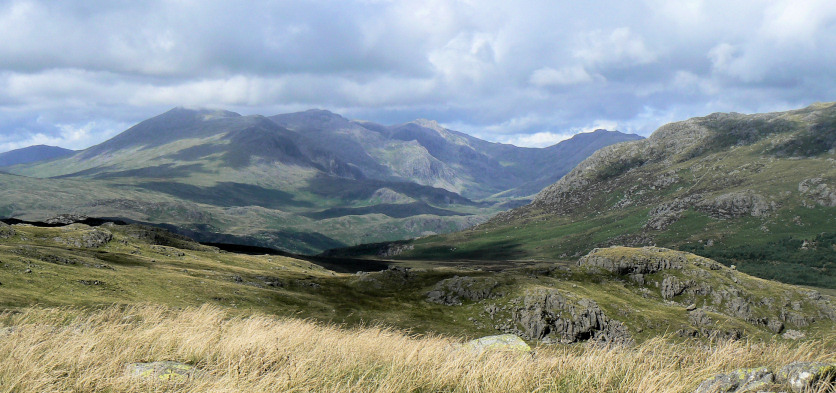
Looking up Great Moss towards Scafell, Scafell Pike, Esk Pike and Bowfell.
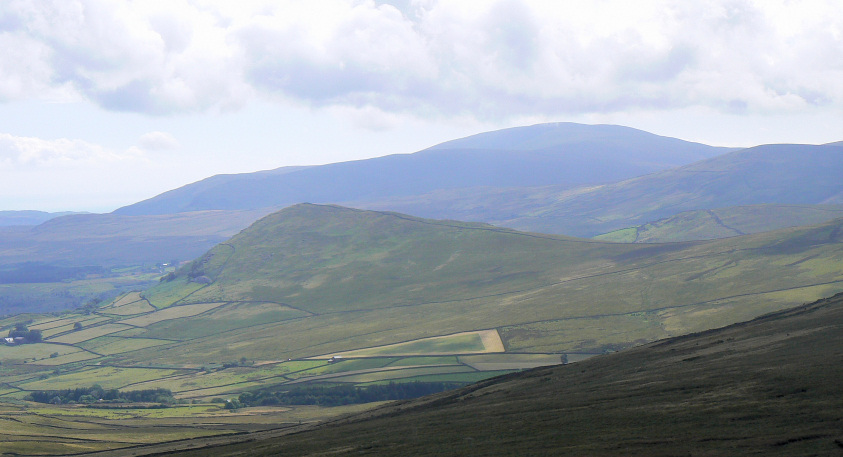
Looking across The Pike to Black Combe.
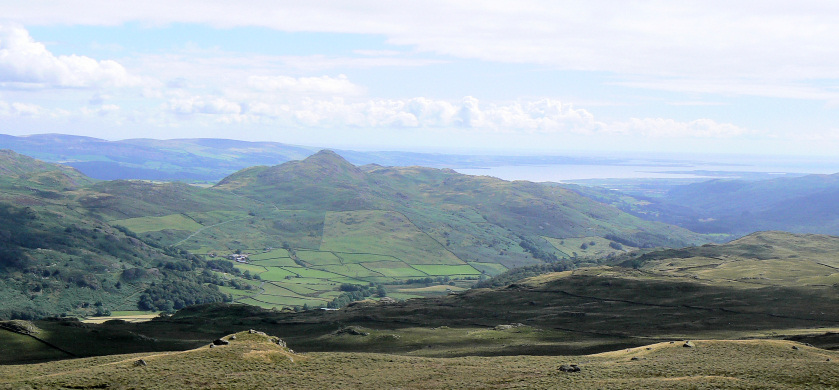
Stickle Pike & the Duddon Estuary.
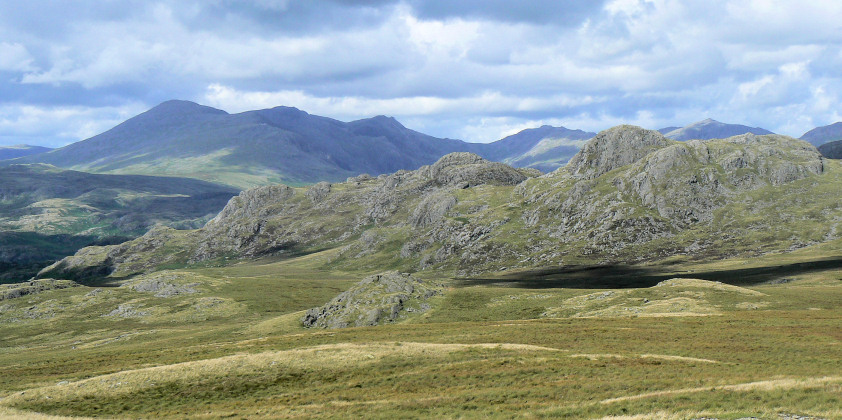
Looking across Green Crag to the Scafells now clear of cloud.
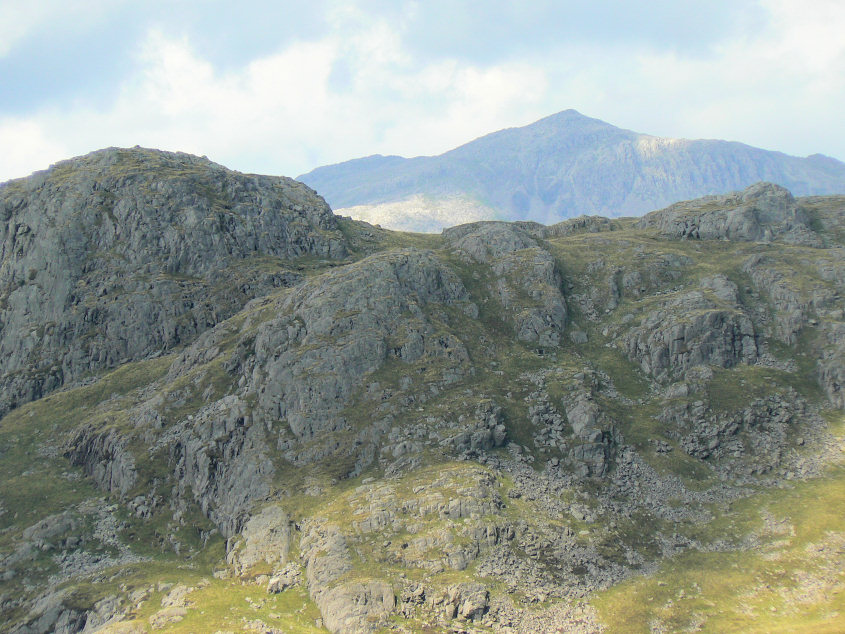
Bowfell across Green Crag.
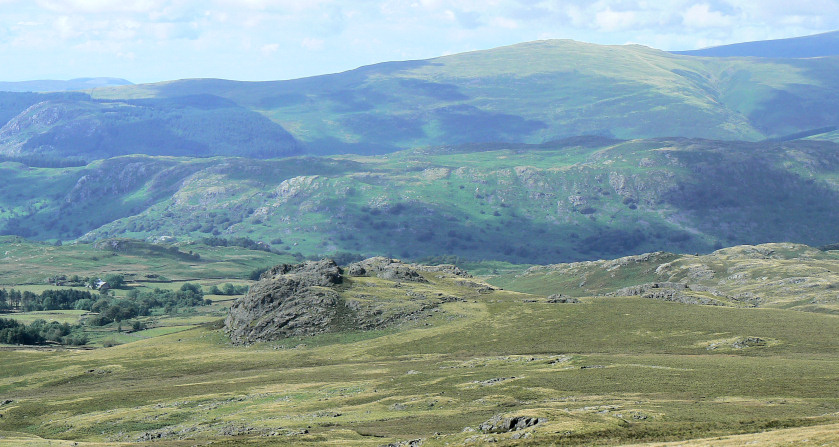
Looking from Great Worm Crag to Great Crag with Muncaster Fell centre and the Screes behind.
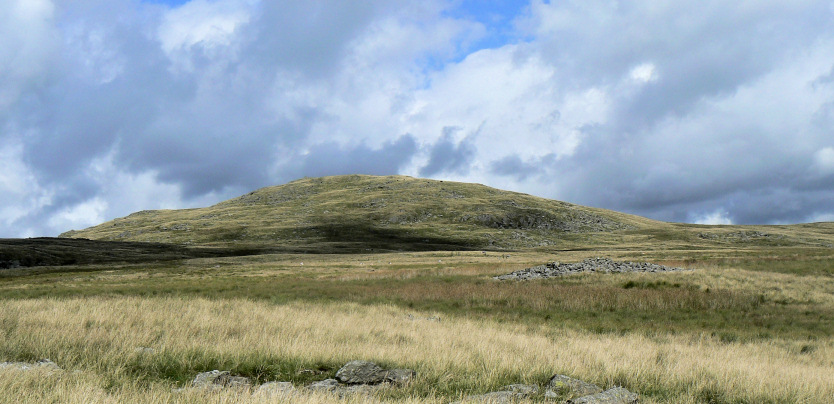
A final look back to Great Worm Crag.
All pictures copyright © Peak Walker 2006-2023